
Paymenter clients pay invoices on the hosted multi-coin page, where XRP is offered as soon as you add a wallet. XRP settles in seconds with tiny fees. PayGate.to supports native XRP on the XRP Ledger: each order gets a one-time XRP address (no tag needed by the customer), and the XRP is forwarded to your own wallet, including your destination tag if your account needs one.
Step 1: Get an XRP wallet address
You need an XRP address you control (r…), from Trust Wallet or OKX Web3 Wallet. If your account needs a tag, write it as r…?dt=TAG or use an X-address. Details: Get an XRP address with a destination tag.
Step 2: Install or update the Paymenter plugin
Upload the extension ZIP under Extensions › Available Extensions › Ready to Install / Upload (XRP needs version 1.0.1 or newer), then add a gateway under Gateways › New gateway with PayGateCrypto selected.
Step 3: Paste your XRP wallet
Open Gateways › PayGateCrypto.
- PayGateCrypto gateway: paste your XRP wallet into XRP Ledger wallet and click Create (or Save).

Step 4: What your customer sees
The customer chooses XRP, gets the exact amount converted from your order total, a one-time address and a QR code.
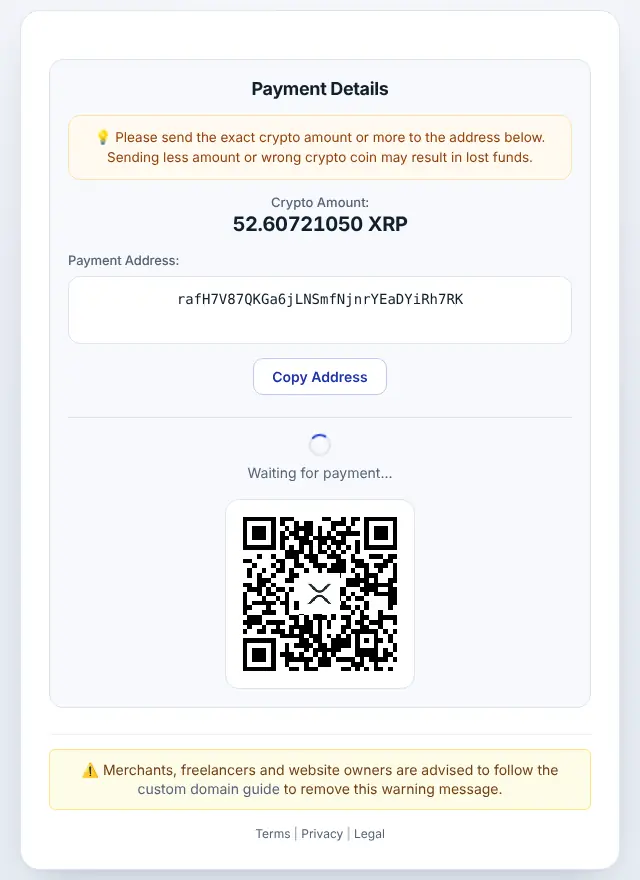
Step 5: Order completed automatically
When the payment is confirmed, the XRP is forwarded to your wallet and a transaction with the blockchain transaction ID is added under Invoice › Invoice Transactions.
XRP on Paymenter: good to know
- Minimum: 2 XRP at the time of writing (live minimums). A new address needs 1 XRP reserve; the first payout covers it.
- Timing: XRP Ledger payments are final in a few seconds.
- Callbacks:
address_outlists your payout asr…?dt=TAG, even if you entered an X-address. - Settings › General › App URL must be your public https address; confirmations go to
/extensions/gateways/paygatecrypto/callback. - If uploads are blocked, copy
PayGateCrypto.phpand thekeysfolder toextensions/Gateways/PayGateCrypto/. - Order statuses: Unpaid → Paid, with a transaction per payment.
Frequently asked questions
Do customers need to enter a destination tag?
No. They pay a one-time address without a tag. Only your payout wallet may have one.
Can I paste an X-address into the field?
Yes. The plugin accepts r…, r…?dt=TAG and mainnet X-addresses.
Do I need an account or API key?
No. The plugin only needs your public wallet addresses. Neither you nor your customers register with PayGate.to.
Which other platforms support XRP?
WooCommerce · Easy Digital Downloads · WHMCS · FOSSBilling · Magento · OpenCart · PrestaShop. See Accept XRP payments for the overview.